


7
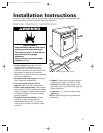
INSTALLATION INSTRUCTIONS
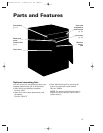
How to install your dryer
Now that you’ve unpacked your dryer, check
to be sure you have removed the parts bag
from the drum. Remove the tape that holds
the drum to the cabinet. Move the drum by
hand to make certain all tape has been
removed. Next, wipe the interior of the drum
thoroughly with a damp cloth before using
the dryer.
Installation
For most jobs all you need are a level, duct
tape, an adjustable wrench, and a screw-
driver. All the parts you need are packed in
the appliance. When you take them out,
place them on a cloth so you won’t lose
them. Do not move appliance into the exact
location until the following steps have been
performed.
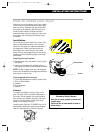
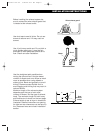
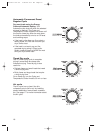
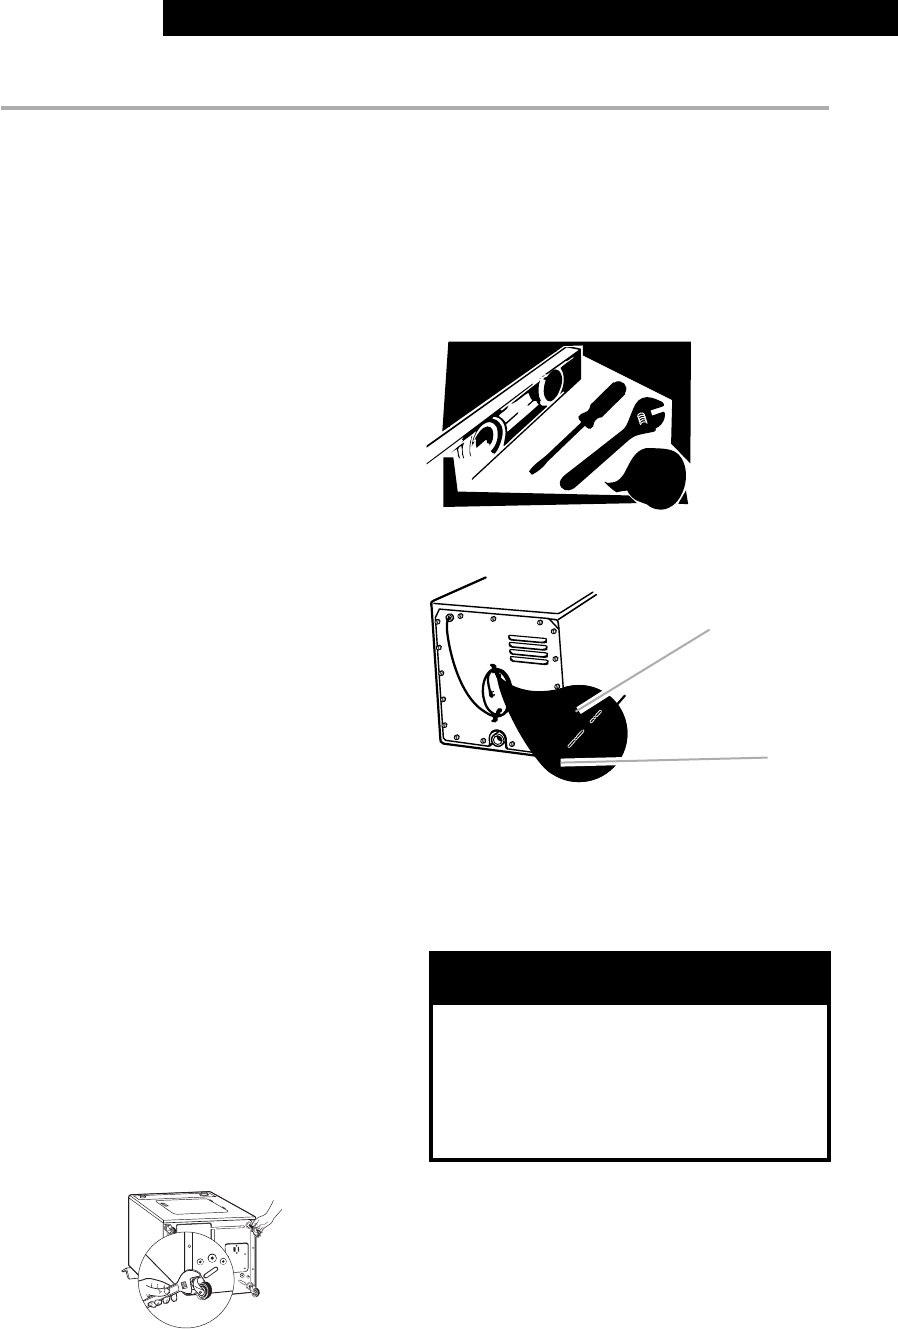
Installing the cord bracket
• Remove tape from the power cord and the
rear panel
• Insert cord brackets into slotted holes in
rear panel and secure with screws provided
NOTE: Power supply cord may be wrapped
around the brackets for storage convenience
when dryer is not in use.
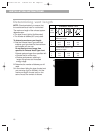
Parts supplied with the dryer:
1 Cycle and temperature control (timer) knob
1 Push to Start button
4 Casters
2 Cord brackets
2 Screws
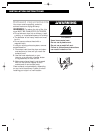
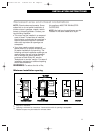
Casters
To install the casters, first lay dryer on its
side. Use the carton to prevent damage to
the dryer. Screw casters into dryer base at
four corners and tighten securely. Set dryer
upright. In doing so be careful that dryer
does not roll away from you.
Leveling feet (Part No. 51594200) for use in
permanent installations may be purchased.
See the “Assistance or Service” section.
Cord bracket
Screw
Tools needed
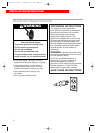
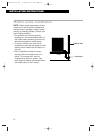
WARNING
Excessive Weight Hazard
Use two or more people to move and
install dryer.
Failure to do so can result in back or
other injury.
3977631 v12 c51 3/22/99 5:11 PM Page 7